How to Make and Construct an LED Dance Floor
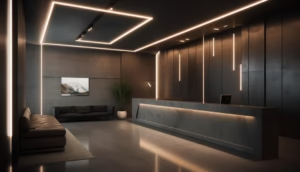
An LED dance floor is a must at any classy shindig where guests are expected to show off their best moves because it adds an element of excitement. It can be used for weddings, corporate events, or even parties inspired by the 70s. Building one’s personal LED deck can certainly wow the guests. However, if one does not want to go the DIY route, Dance Floor Rentals provides an effortless answer to ensure everyone enjoys the wonderful dazzling experience.
In this article, we will outline the instructions for creating a light-up dance floor as well as the design considerations to ensure it functions properly. Or, if you have a specific need for a Disco Floor or for LED Dance Floor Rentals for a singular event, renting is always an easy option.

Step 1: Calculate the Area for Your Dance Floor
The first step to creating a dance floor with LED lights is figuring out how much space is needed. Think about the size of your location and how many people will attend. A good rule of thumb is to have 4 to 5 square feet of dance floor per person. So, if you are looking to host 100 people, around 400 square feet of floor space will be required. Understanding the dimensions is crucial for estimating the quantity of LED panels needed for your Dance Floor Rental or DIY project.
Step 2: Gather the Necessary Materials
To construct an LED Illuminated Dance Floor, you will need to gather materials that assure strength and safety durability. The following is the complete list of materials required.
- LED Panels: These are the most critical component of the floor. Without them, the lighting effects that allow the floor to come alive will not be possible. Ensure that the LED panels can withstand high levels of foot traffic and are capable of displaying multiple colours and patterns.
- Support Frame: You will need a sturdy, level frame to support the panels. Aluminium or steel frames are preferable because they are stronger and do not warp easily.
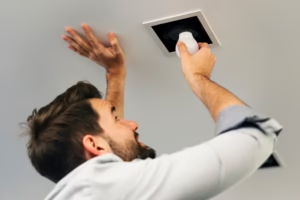
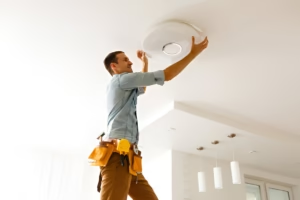
- Wiring and Power Source: First, the LED panels require a power supply to be connected to a reliable power source, preferably a socket. It is important to have some background in electrical work; otherwise, a specialist may be needed to accomplish it.
- Protective Cover: LED lights are usually protected by some form of cover which may be clear acrylic or glass tempered panels. This covering serves two main purposes: protecting the light from damage and providing the shine that is emitted.
For those people who wish to rent a ready Light-up Dance Floor Rentals as opposed to building their own, almost all rental outlets offer a full accompaniment of materials with the additional two services of assembling or dismantling the space.

Step 3: Installation Procedure
If you have already collected all the needed items, now you are ready to construct the LED dance floor:
- Laying the base: Set the support frame in the most ideal position on a flat, clear ground. It is important to note that the surface must be even to prevent the frame from leaning or breaking, which would lead to the LED panels becoming damaged.
- Fitting the LED Panels: Add the LED panels into the frame just made and fasten them firmly to withstand heavy use. If the panels are rented, then they must be brought in according to the specifications of the rental company.
- Wiring: Make sure all wires are securely connected to the power supply as you carefully attach each panel. Use insulation to prevent overheating. For enhanced control, consider adding a control unit to programme different lighting sequences.
- Add Protective Covering: Create a smooth surface for dancing by placing tempered glass or acrylic panels over the LED lights to prevent them from being damaged.
Step 4: Testing and Customisation
Once installed, verify that the Lighted Dance Floor works properly. Using the control panel, customise the effects of the lights. You can set them to sync with music, flash like strobe lights, or slowly fade colours one into another for a very captivating experience.
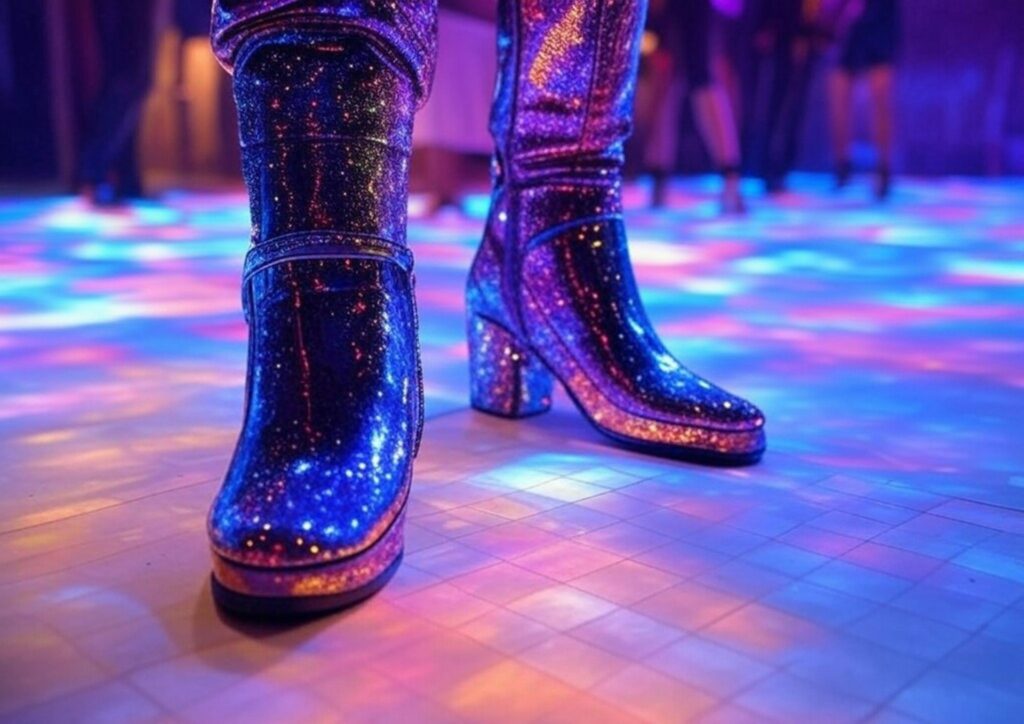
Set the floor to flash multicoloured squares for a classic Disco Dance Floor filled with ‘70s vibes during events with a disco theme.
Step 5: Maintenance and Safety
Staying safe and focusing on proper maintenance is equally important whether you are building your own LED dance floor or using LED Dance Floor Rentals. Always ensure that the protective covering is not damaged and regularly check the power connections and wiring. Moreover, standard safety protocols should always be observed to avoid any accidents during the event.
When it comes to renting an LED dance floor, the best option is LED Dance Floor Rentals. Service providers like Angels Music Productions offer a wide variety of illuminated dance floors including sleek modern dance floors, retro disco floors, and many more. With these rentals, you can sit back and focus on your event as most services come with installation, removal, and tech support.
Renting a light-up dance floor is perfect for infrequent events like weddings, birthday parties, or business events and will be most cost effective as you won’t have to invest in a portable Disco Dance floor or the hassle of storing it long-term.
Need help choosing the perfect LED lighting? Our LED lighting guide makes it simple and stress-free!