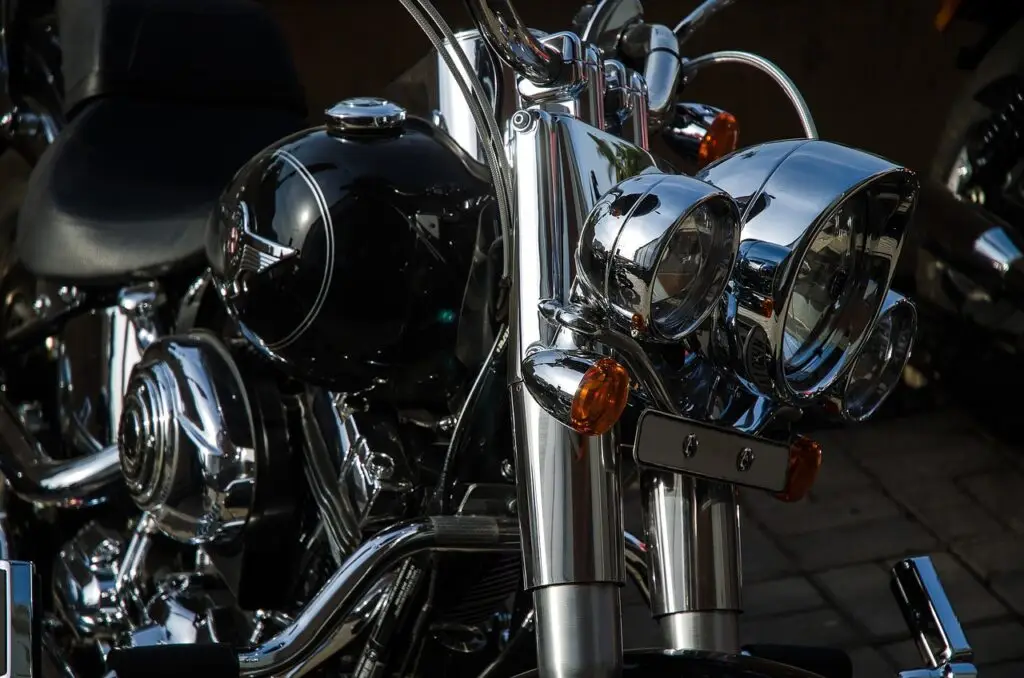
Upgrading your Harley Davidson with LED lights is one of the best ways to enhance both safety and style. LED lights are brighter, more energy-efficient, and longer-lasting than traditional halogen bulbs, making them a popular choice among riders. If you’re wondering How to Install LED Lights on Harley Davidson, you’ve come to the right place. In this guide, we’ll walk you through the entire process, step by step, so you can upgrade your ride with confidence.
Why Upgrade to LED Lights for Your Harley Davidson?
Before diving into the installation process, let’s talk about why LED lights are worth the effort. Here are a few key benefits:
- Brighter Illumination: LED lights provide superior brightness, improving visibility during night rides and in poor weather conditions.
- Energy Efficiency: LEDs consume less power, reducing strain on your bike’s electrical system.
- Durability: LED lights are more resistant to vibrations and shocks, making them ideal for motorcycles.
- Modern Aesthetics: LEDs give your Harley Davidson a sleek, modern look that sets it apart from the crowd.
Now that you know why LED lights are a great upgrade, let’s get into the installation process.
Tools and Materials Needed
Before you start, gather the following tools and materials:
- LED light kit (headlights, tail lights, turn signals, etc.)
- Screwdrivers (Phillips and flathead)
- Wire cutters and strippers
- Electrical tape or heat shrink tubing
- Zip ties
- Load equalizer or LED flasher relay (if needed)
- Multimeter (optional, for testing connections)
Step-by-Step Guide to Installing LED Lights on Your Harley Davidson
Follow these steps to install LED lights on your Harley Davidson:
Step 1: Prepare Your Workspace
- Park your motorcycle on a flat, stable surface.
- Disconnect the battery to avoid any electrical shorts.
- Gather all necessary tools and materials.
Step 2: Remove the Old Lights
- Locate the screws or bolts holding the old halogen lights in place.
- Carefully disconnect the wiring harness from the old lights.
- Remove the old lights and set them aside.
Step 3: Install the New LED Lights
- Connect the wiring harness to the new LED lights.
- Secure the new LED lights in place using the screws or bolts.
- Ensure the lights are properly aligned and tightened.
Step 4: Connect the Wiring
- Match the wires from the LED lights to the corresponding wires on your motorcycle.
- Use wire connectors, electrical tape, or heat shrink tubing to secure the connections.
- Double-check all connections to ensure they are secure and properly insulated.
Step 5: Install a Load Equalizer or Flasher Relay (if needed)
- If your LED turn signals hyper-flash, install a load equalizer or LED flasher relay.
- Follow the manufacturer’s instructions for installation.
- Test the turn signals to ensure they function correctly.
Step 6: Reconnect the Battery
- Reconnect the battery and test the new LED lights.
- Check the headlights, tail lights, brake lights, and turn signals to ensure they are working properly.
Step 7: Secure and Organize the Wiring
- Use zip ties to secure and organize the wiring.
- Ensure there are no loose wires that could get caught or damaged while riding.
Step 8: Final Check and Adjustment
- Double-check all connections and ensure the lights are properly aligned.
- Take your motorcycle for a test ride to ensure everything is functioning correctly.
Tips for a Successful Installation
Here are some additional tips to ensure a smooth installation process:
- Read the Instructions: Always read the manufacturer’s instructions before starting the installation.
- Take Your Time: Don’t rush the process, especially when working with wiring.
- Test as You Go: Test the lights at each stage to ensure they are working properly.
- Seek Professional Help if Needed: If you’re unsure about any step, consult a professional mechanic.
Maintenance and Care for LED Lights
Once your LED lights are installed, follow these tips to keep them in top condition:
- Clean the Lenses Regularly: Use a soft cloth to clean the lenses and maintain brightness.
- Check for Loose Connections: Periodically inspect the wiring for loose connections or corrosion.
- Replace Faulty Components: If any part of the LED lights stops working, replace it promptly.
Frequently Asked Questions (FAQs)
- Are LED lights legal for use on motorcycles?
Yes, as long as they are DOT-compliant. - Can I install LED lights myself, or do I need a professional?
Most LED lights are designed for easy installation, but professional help is recommended for complex setups. - How do I prevent hyper-flashing with LED turn signals?
Use a load equalizer or LED flasher relay to ensure proper functionality. - What is the average lifespan of LED lights?
LED lights can last up to 50,000 hours or more. - Are LED lights compatible with all Harley Davidson models?
Most LED lights are designed to fit specific models, so check compatibility before purchasing. - Do LED lights drain the battery?
No, LED lights are energy-efficient and use less power than halogen bulbs. - What’s the difference between LED headlights and halogen headlights?
LED headlights are brighter, more energy-efficient, and last longer than halogen bulbs. - Are LED passing lamps worth it?
Yes, they significantly improve visibility during night rides. - Can I customize the color of my LED lights?
Some LED lights offer customizable colors, but make sure they comply with local laws. - How do LED lights improve safety?
LED lights provide brighter illumination and faster response times, making your ride safer.
Conclusion
Installing LED lights on your Harley Davidson is a rewarding project that enhances both safety and style. By following this step-by-step guide, you can upgrade your bike with confidence and enjoy the benefits of brighter, more efficient lighting. Whether you’re a DIY enthusiast or a first-time installer, this guide will help you get the job done right.
So why wait? Upgrade your Harley Davidson with LED lights today and experience the difference for yourself. Ride brighter, ride safer, and ride in style!