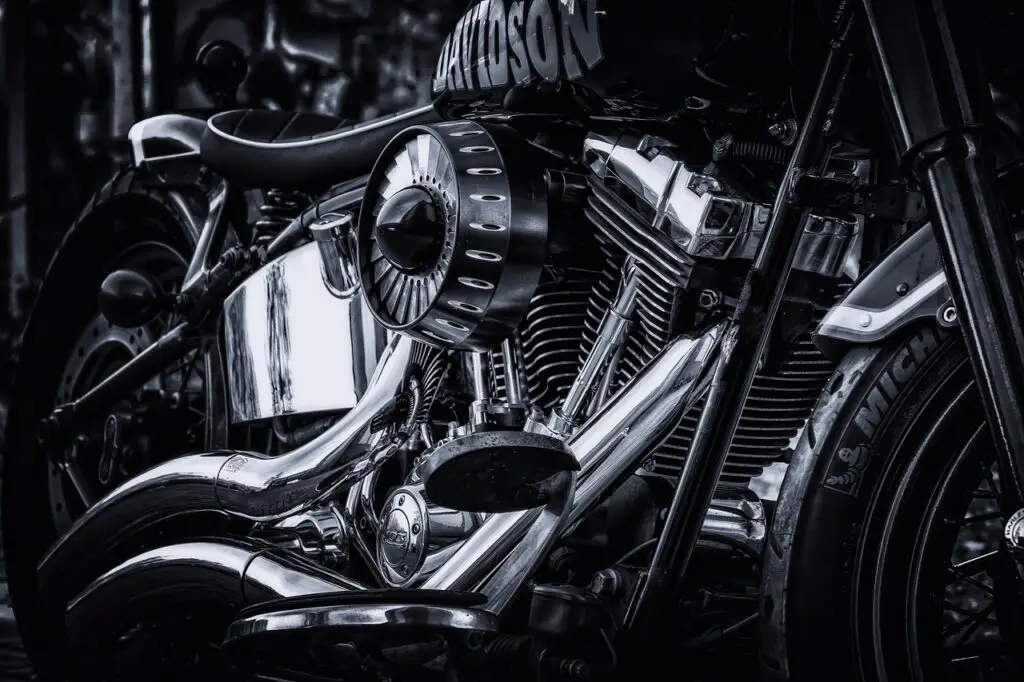
If you’ve recently upgraded your Harley Davidson with LED lights, you might have noticed that your turn signals are blinking too fast—a problem known as hyper-flashing. This happens because LED lights draw less power than traditional halogen bulbs, confusing your motorcycle’s flasher relay. The solution? A Harley Davidson LED Load Equalizer Installation. In this guide, we’ll walk you through the entire process, step by step, so you can fix hyper-flashing and enjoy a smoother, safer ride.
What is a Load Equalizer and Why is it Needed?
A load equalizer is a small device that balances the power draw of your LED lights, ensuring your turn signals blink at the correct speed. When you switch to LED lights, their lower power consumption can cause the flasher relay to hyper-flash. A load equalizer fixes this by adding a small amount of resistance to the circuit, mimicking the power draw of halogen bulbs.
Installing a load equalizer is essential for:
- Preventing hyper-flashing.
- Ensuring proper functionality of LED turn signals.
- Protecting your motorcycle’s electrical system.
Tools and Materials Needed
Before you start, gather the following tools and materials:
- Load equalizer (compatible with your Harley Davidson model).
- Screwdrivers (Phillips and flathead).
- Wire cutters and strippers.
- Electrical tape or heat shrink tubing.
- Zip ties.
- Multimeter (optional, for testing connections).
Step-by-Step Guide to Harley Davidson LED Load Equalizer Installation
Follow these steps to install a load equalizer on your Harley Davidson:
Step 1: Prepare Your Workspace
- Park your motorcycle on a flat, stable surface.
- Disconnect the battery to avoid any electrical shorts.
- Gather all necessary tools and materials.
Step 2: Locate the Turn Signal Wiring
- Identify the wiring for the turn signals (usually near the rear of the motorcycle).
- Use the motorcycle’s wiring diagram if needed.
Step 3: Connect the Load Equalizer
- Connect the load equalizer to the turn signal wiring:
- Match the wires from the load equalizer to the corresponding wires on your motorcycle.
- Use wire connectors, electrical tape, or heat shrink tubing to secure the connections.
- Double-check all connections to ensure they are secure and properly insulated.
Step 4: Secure the Load Equalizer
- Use zip ties to secure the load equalizer in place.
- Ensure the load equalizer is mounted in a location that is protected from heat, moisture, and vibrations.
Step 5: Reconnect the Battery
- Reconnect the battery and test the turn signals.
- Ensure the turn signals blink at the correct speed and function properly.
Step 6: Final Check and Adjustment
- Double-check all connections and ensure the load equalizer is securely mounted.
- Take your motorcycle for a test ride to ensure everything is functioning correctly.
Tips for a Successful Installation
Here are some additional tips to ensure a smooth installation process:
- Read the Instructions: Always read the manufacturer’s instructions before starting the installation.
- Take Your Time: Don’t rush the process, especially when working with wiring.
- Test as You Go: Test the turn signals at each stage to ensure they are working properly.
- Seek Professional Help if Needed: If you’re unsure about any step, consult a professional mechanic.
Frequently Asked Questions (FAQs)
- What is a load equalizer, and why do I need one?
- A load equalizer balances the power draw of LED lights, preventing hyper-flashing.
- Can I install a load equalizer myself, or do I need a professional?
- Most load equalizers are easy to install, but professional help is recommended for complex setups.
- How do I know if my load equalizer is compatible with my Harley Davidson?
- Check the product specifications to ensure compatibility with your motorcycle model.
- What should I do if my turn signals still hyper-flash after installing a load equalizer?
- Double-check the connections and ensure the load equalizer is properly installed.
- Where is the best place to mount the load equalizer on my motorcycle?
- Mount the load equalizer in a location that is protected from heat, moisture, and vibrations.
- Do I need a load equalizer for all LED lights, or just turn signals?
- A load equalizer is typically needed for turn signals, as they are most affected by hyper-flashing.
- Can I use a load equalizer with other motorcycle brands?
- Yes, load equalizers can be used with other motorcycle brands, but compatibility should be checked.
- How do I test the load equalizer to ensure it’s working properly?
- Test the turn signals after installation to ensure they blink at the correct speed.
- What tools do I need for the installation?
- Screwdrivers, wire cutters, electrical tape, and zip ties are typically needed.
- How long does it take to install a load equalizer?
- The installation process usually takes about 30-60 minutes.
Conclusion
Installing a load equalizer is a simple yet essential step when upgrading your Harley Davidson with LED lights. By following this Harley Davidson LED Load Equalizer Installation guide, you can prevent hyper-flashing and ensure your turn signals function properly. Whether you’re a DIY enthusiast or a first-time installer, this guide will help you get the job done right.
Upgrade your Harley Davidson with confidence, and enjoy the brighter, safer, and more stylish ride that LED lights provide. If you encounter any issues, refer back to this guide for quick and easy fixes. Ride on!