How to install LED ceiling lights is a common question for homeowners looking to upgrade their lighting. Whether you’re replacing an old fixture or installing a new one, this step-by-step guide will walk you through the process. By the end, you’ll have the confidence to tackle this DIY project like a pro. Let’s get started!
Tools and Materials Required
Before you begin, gather the following tools and materials:
Tools:
- Screwdriver (flathead and Phillips)
- Wire stripper
- Voltage tester
- Ladder (with a stable base)
- Drill (if needed)
Materials:
- LED ceiling light fixture
- Wire connectors
- Mounting bracket
- Screws and anchors
Pro Tip: Always turn off the power at the circuit breaker before starting any electrical work. Use a voltage tester to ensure the power is off.
Step 1: Turn Off the Power
Safety first! Head to your circuit breaker and turn off the power to the room where you’ll be working. Use a voltage tester to double-check that the power is off.
Step 2: Remove the Old Fixture (If Applicable)
If you’re replacing an old light fixture, follow these steps:
- Unscrew the existing fixture from the ceiling.
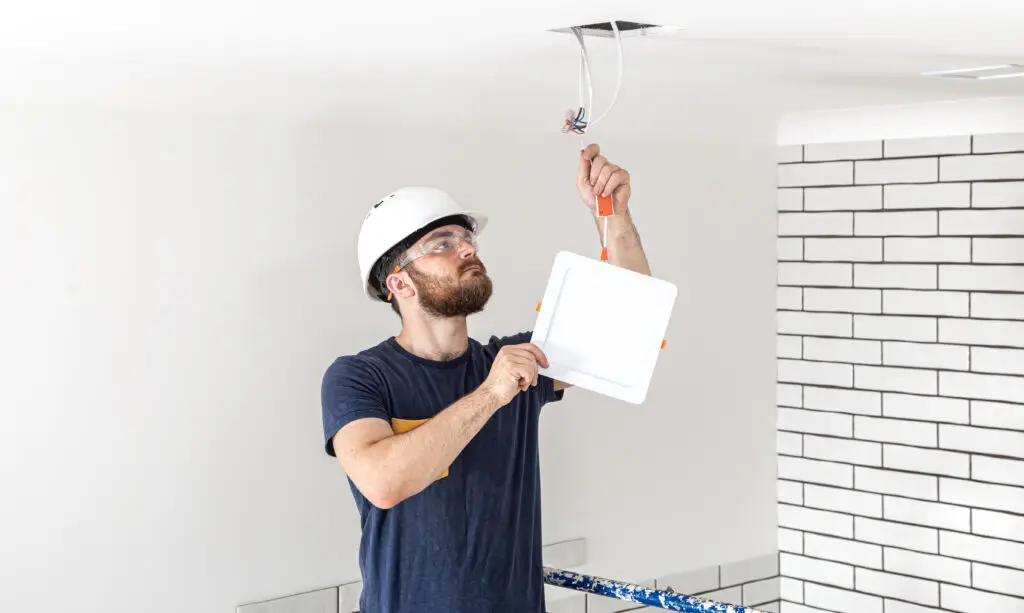
- Carefully disconnect the wires.
- Remove the old mounting bracket.
Note: Take a photo of the wiring before disconnecting for reference.
Step 3: Prepare the Wiring
- Strip about ½ inch of insulation from the ends of the wires if necessary.
- Match the wires:
- Black wire (hot) to black wire.
- White wire (neutral) to white wire.
- Green or bare wire (ground) to the grounding screw or wire.
Step 4: Install the Mounting Bracket
- Attach the mounting bracket to the electrical box using screws.
- Ensure the bracket is secure and level.
Step 5: Connect the Wires
- Connect the wires using wire connectors:
- Twist the matching wires together (black to black, white to white).
- Secure with wire connectors.
- Tuck the wires neatly into the electrical box.
Step 6: Attach the LED Ceiling Light
- Align the light fixture with the mounting bracket.
- Secure the fixture using screws or clips provided by the manufacturer.
Step 7: Test the Light
- Turn the power back on at the circuit breaker.
- Flip the light switch to test the new fixture.
Troubleshooting Tip: If the light doesn’t turn on, double-check the wiring and connections.

Common Mistakes to Avoid When Installing LED Ceiling Lights
Installing LED ceiling lights can be a straightforward DIY project, but even small mistakes can lead to big problems. To ensure a smooth and safe installation, here are some common mistakes to avoid and tips to get it right:
1. Not Turning Off the Power
Mistake: Forgetting to turn off the power before starting the installation.
Why It’s a Problem: Working on live wires can result in electric shocks, short circuits, or even fires.
How to Avoid It:
- Always turn off the power at the circuit breaker.
- Use a voltage tester to double-check that the power is off before touching any wires.
- Inform everyone in the household to avoid turning the power back on while you’re working.
2. Incorrect Wiring
Mistake: Connecting wires improperly or using the wrong connectors.
Why It’s a Problem: Incorrect wiring can cause the light to malfunction, flicker, or not work at all. In worst cases, it can lead to electrical fires.
How to Avoid It:
- Match the wires correctly:
- Black wire (hot) to black wire.
- White wire (neutral) to white wire.
- Green or bare wire (ground) to the grounding screw or wire.
- Use high-quality wire connectors to secure the connections.
- If you’re unsure, refer to the manufacturer’s wiring diagram or consult an electrician.
3. Overloading the Circuit
Mistake: Adding too many lights or fixtures to a single circuit.
Why It’s a Problem: Overloading the circuit can trip the breaker, damage the wiring, or even cause a fire.
How to Avoid It:
- Check the circuit’s capacity (measured in amps) before installation.
- Calculate the total wattage of all lights on the circuit to ensure it doesn’t exceed 80% of the circuit’s capacity.
- If needed, install a new dedicated circuit for your LED ceiling lights.
4. Skipping the Mounting Bracket
Mistake: Not using a mounting bracket or using an unstable one.
Why It’s a Problem: Without a secure mounting bracket, the light fixture may wobble, sag, or even fall, posing a safety hazard.
How to Avoid It:
- Always use the mounting bracket provided with your LED ceiling light.
- Ensure the bracket is securely attached to the electrical box using screws and anchors.
- For heavier fixtures, use additional support like a ceiling fan-rated electrical box.
5. Ignoring the Manufacturer’s Instructions
Mistake: Skipping the instruction manual and improvising the installation.
Why It’s a Problem: Every LED ceiling light is different, and ignoring the instructions can lead to improper installation or void the warranty.
How to Avoid It:
- Read the manufacturer’s instructions thoroughly before starting.
- Follow the recommended steps for wiring, mounting, and testing.
- Keep the manual for future reference or troubleshooting.
6. Not Testing the Light Before Final Installation
Mistake: Fully installing the light without testing it first.
Why It’s a Problem: If the light doesn’t work, you’ll have to disassemble everything to fix the issue.
How to Avoid It:
- After wiring, turn the power back on briefly to test the light.
- If it works, turn the power off again and complete the installation.
- If it doesn’t work, double-check the wiring and connections.
7. Using the Wrong Type of LED Ceiling Light
Mistake: Installing a light that’s not suitable for your space or ceiling type.
Why It’s a Problem: For example, using a heavy fixture on a weak ceiling or installing a non-weatherproof light in a damp area.
How to Avoid It:
- Choose the right type of LED ceiling light for your space:
- Flush mount lights for low ceilings.
- Recessed lights for modern, seamless looks.
- Drop ceiling lights for suspended ceilings.
- Check the fixture’s weight limit and ensure your ceiling can support it.
- For damp or outdoor areas, use fixtures with an appropriate IP rating.
8. Rushing the Installation
Mistake: Trying to finish the installation too quickly.
Why It’s a Problem: Rushing can lead to mistakes like loose connections, improper mounting, or damaged wires.
How to Avoid It:
- Take your time and follow each step carefully.
- Double-check all connections and screws before finishing.
- If you’re unsure about any step, pause and consult a professional.
Pro Tips for a Flawless Installation
- Label Wires: Before disconnecting the old fixture, label the wires to avoid confusion during reconnection.
- Take Photos: Snap pictures of the wiring and setup for future reference.
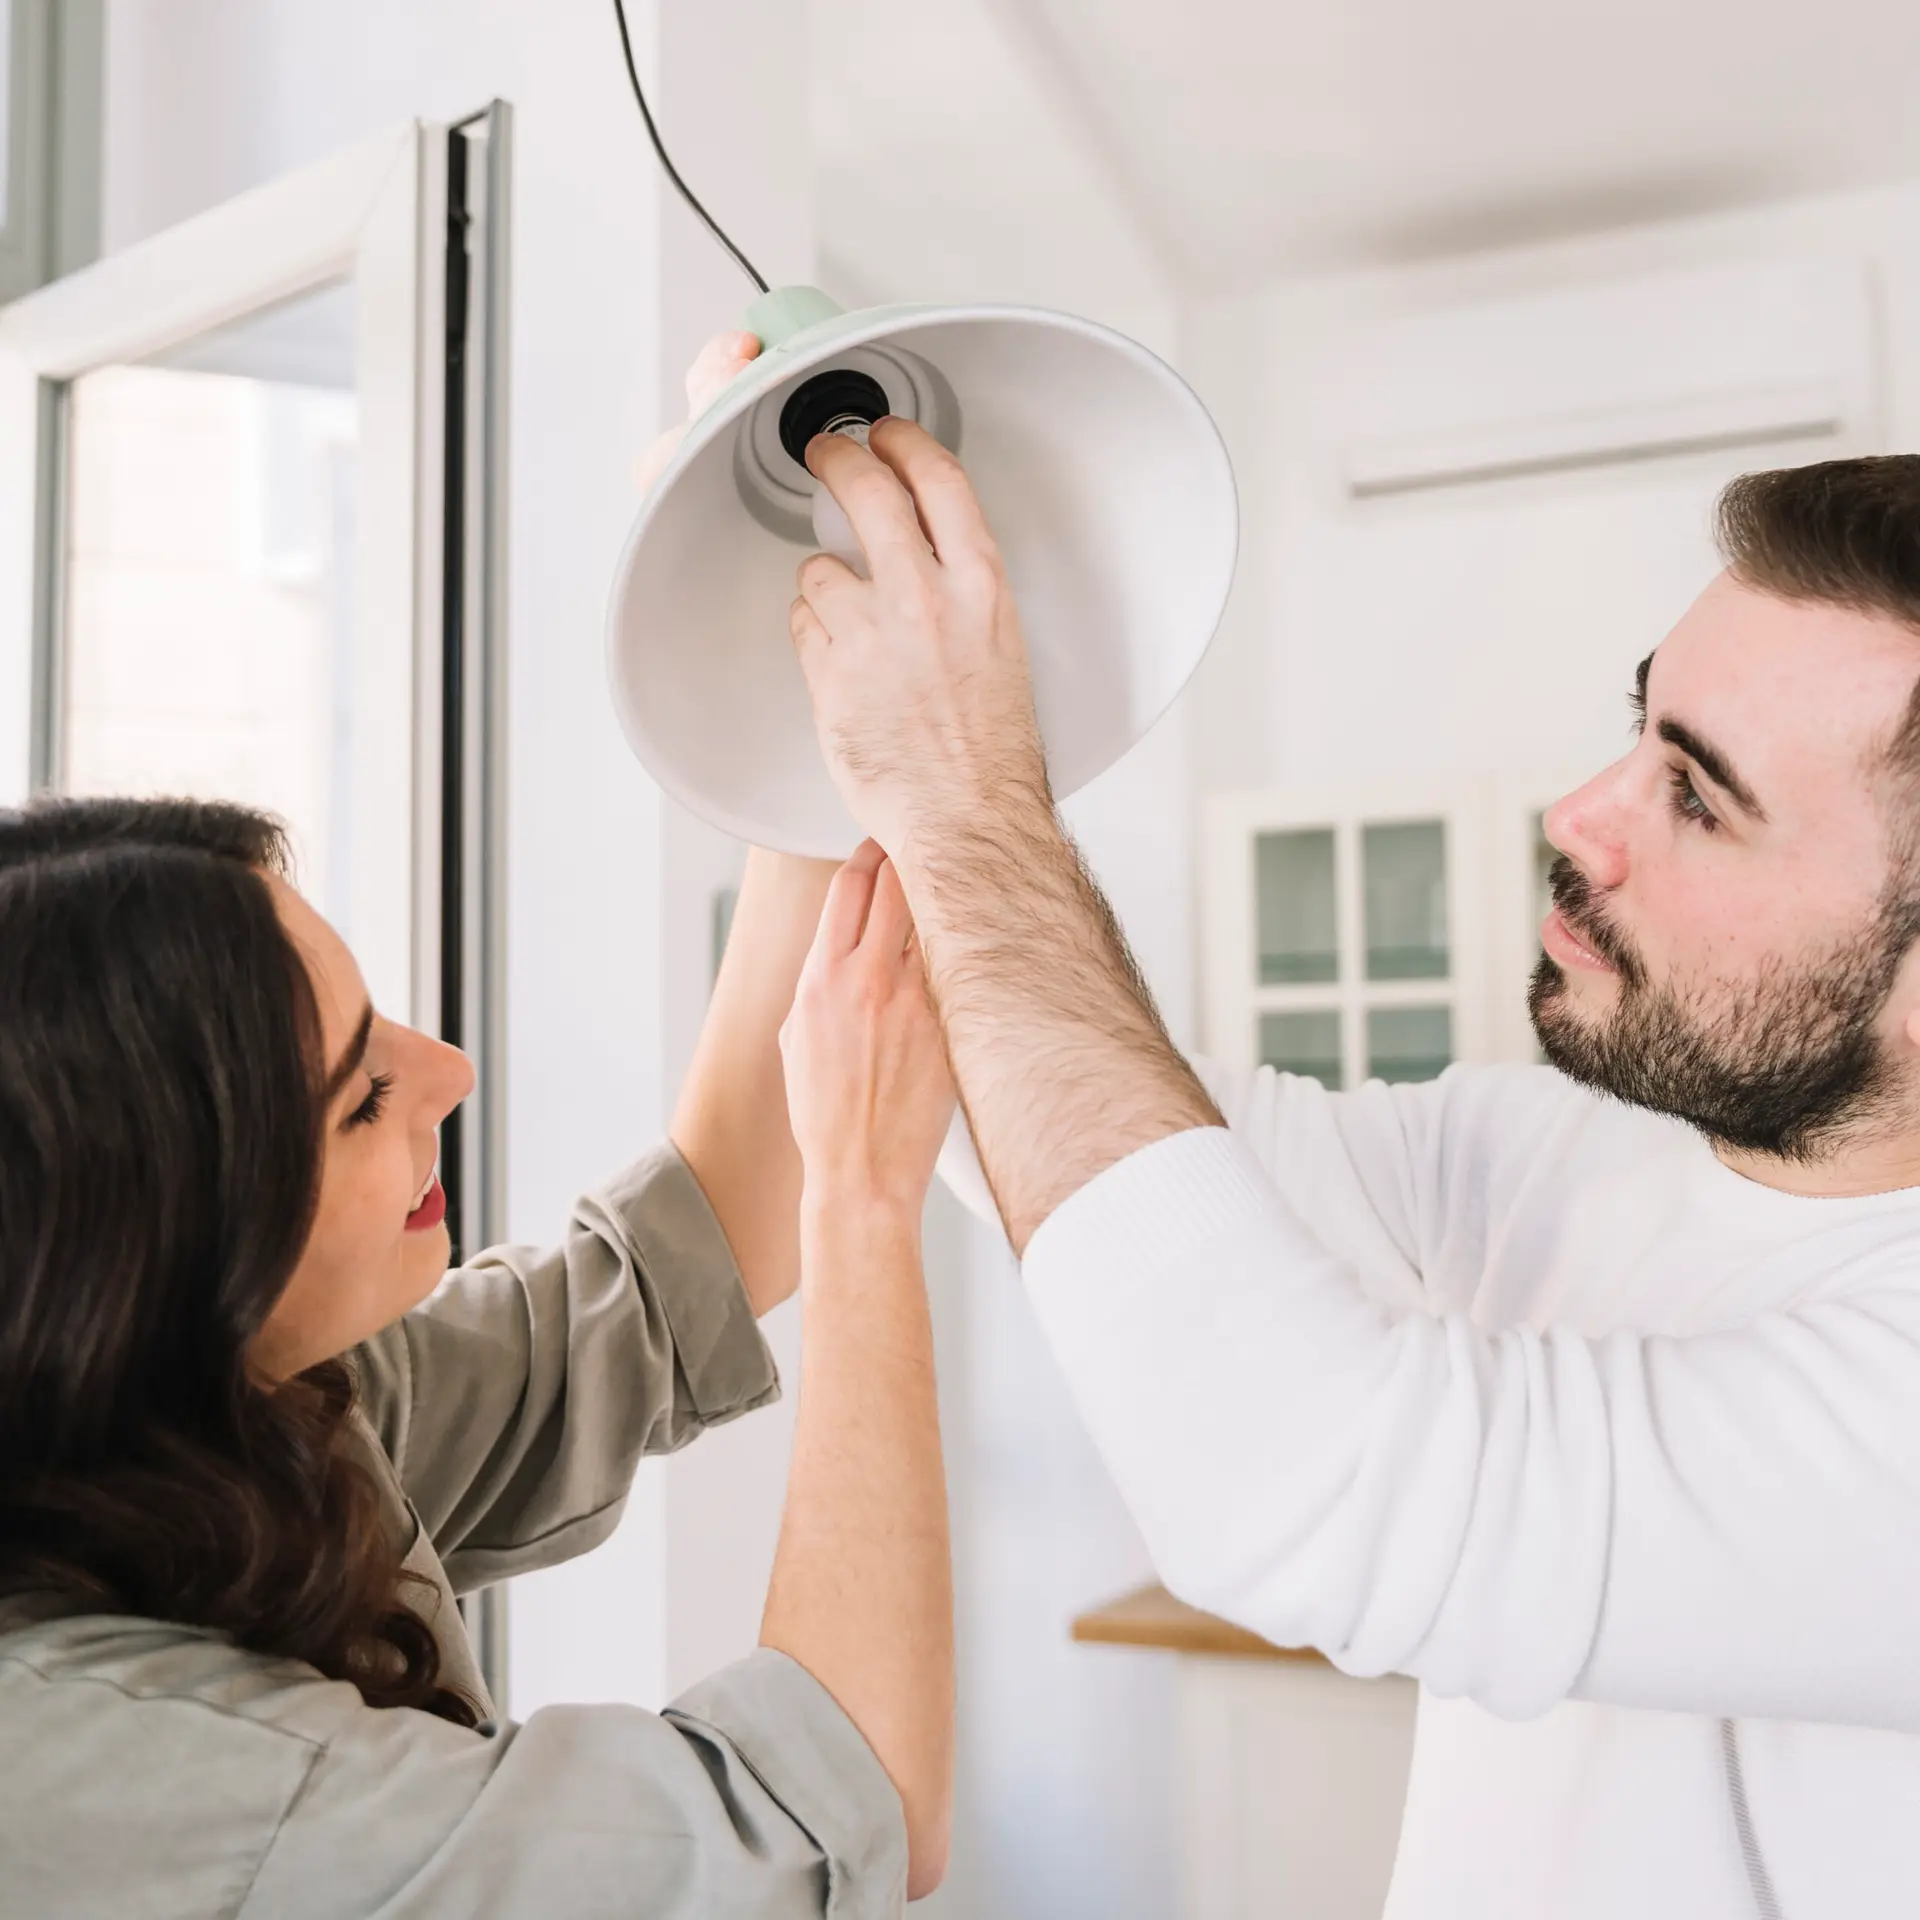
- Use a Helper: For larger fixtures, have someone assist you with holding the light during installation.
- Invest in Quality Tools: High-quality tools like wire strippers and voltage testers make the job easier and safer.
By avoiding these common mistakes and following the tips above, you’ll ensure a safe and successful LED ceiling light installation. Remember, when in doubt, consult a professional electrician to avoid risks and ensure everything is done correctly.
Not sure which type of LED ceiling light is right for you? Check out our comprehensive guide to types of LED ceiling lights to make the best choice for your home or office.
Tips for a Successful LED Ceiling Light Installation
- Read the Instructions: Follow the manufacturer’s guidelines for your specific LED ceiling light.
- Use a Stable Ladder: Ensure your ladder is secure before climbing.
- Label Wires: Label wires before disconnecting the old fixture for easy reference.
- Take Photos: Snap pictures of the wiring before disconnecting to simplify reconnection.
FAQs About Installing LED Ceiling Lights
Q: Can I install LED ceiling lights myself?
A: Yes, with the right tools and precautions, it’s a beginner-friendly project.
Q: Do I need an electrician to install LED ceiling lights?
A: For simple installations, you can DIY. For complex setups, consult an electrician.
Q: How do I know if my ceiling can support the new light fixture?
A: Check the weight limit of your electrical box and use a mounting bracket.
Q: Can I install LED ceiling lights in a drop ceiling?
A: Yes, but you’ll need fixtures designed for drop ceilings.
Q: What should I do if the light doesn’t turn on after installation?
A: Double-check the wiring and connections, and ensure the power is on.
Conclusion
Learning how to install LED ceiling lights is a simple and rewarding DIY project that can transform your space. By following this step-by-step guide, you’ll save money on professional installation and enjoy the benefits of energy-efficient lighting. Remember to prioritize safety, follow the instructions, and take your time.
Now that you’ve learned how to install LED ceiling lights, why not explore more ways to enhance your home lighting? Whether you’re looking for energy-efficient options, modern designs, or tips on choosing the right fixtures for specific spaces, we’ve got you covered. Check out our other guides to find the perfect lighting solutions for your home:
- Ultimate Guide to LED Ceiling Lights: Your one-stop resource for everything about LED ceiling lighting.
- Best LED Ceiling Lights for Every Room: Discover the ideal lighting for living rooms, bedrooms, bathrooms, and more.
- Energy-Efficient LED Ceiling Lights: Learn how to save energy and reduce your electricity bills with eco-friendly lighting.
- Modern LED Ceiling Lights: Upgrade your home with the top 10 stylish and contemporary designs.
- Types of LED Ceiling Lights: Understand the different styles and find the perfect fit for your needs.
- LED Strip Lights for Ceilings: Get creative with innovative ways to use LED strips in your home.
- Flush Mount vs. Recessed LED Ceiling Lights: Compare the pros and cons of each type to make the best choice.
- How to Fix Flickering LED Ceiling Lights: Troubleshoot and resolve common flickering issues.
- LED Ceiling Lights for Drop Ceilings: Everything you need to know about lighting for drop ceilings.
- How to Choose the Right LED Ceiling Light for Your Kitchen: Expert tips for selecting the perfect kitchen lighting.
- Benefits of LED Ceiling Lighting: Discover why LED lighting is the best choice for your home.
From installation tips to energy savings and modern designs, our guides will help you create a well-lit, stylish, and efficient home. Start exploring today and transform your space with the perfect LED ceiling lights!


